If you’ve ever found yourself struggling to trim tall trees, look no further! In this article, we’re here to guide you on how to effectively trim those lofty branches using the incredible Fiskars® Power-Lever® Extendable Pole Saw & Pruner (7′-14′). This versatile tool will revolutionize your tree-trimming experience, allowing you to reach greater heights with ease. With a high-quality video provided by Fiskars Americas, you’ll have a step-by-step guide on how to utilize the exceptional features of this pole saw and pruner. Say goodbye to precarious ladders and hello to efficient and safe trimming!
In this comprehensive article, we will walk you through everything you need to know in order to make the most of your Fiskars® Power-Lever® Extendable Pole Saw & Pruner. You’ll learn the correct way to handle the tool, how to extend and retract the pole, and how to effectively prune those unruly branches. Whether you’re a seasoned tree-trimming pro or just starting out, this article will provide you with the knowledge and confidence you need to tackle any tall tree with ease. So grab your Fiskars® Power-Lever® Extendable Pole Saw & Pruner and let’s get started on transforming your tree-trimming experience!
1. Safety Precautions
Using a pole saw and pruner can be a valuable tool for maintaining and trimming trees on your property, but it’s essential to prioritize safety. Before getting started, make sure you understand and implement these safety precautions.
1.1 Wear Protective Gear
When operating a pole saw and pruner, it’s crucial to wear the appropriate protective gear. This includes gloves to protect your hands from potential cuts and blisters, safety goggles to shield your eyes from flying debris, and a hard hat to protect your head from falling branches. Additionally, consider wearing long-sleeved shirts and pants to further protect your skin.
1.2 Inspect the Equipment
Before each use, thoroughly inspect the pole saw and pruner to ensure that it’s in good working condition. Check for any damaged or loose parts that may affect its functionality. Make sure all the joints are secure and that the blades are sharp and in proper alignment. Never use the equipment if it is damaged or faulty.
1.3 Choose the Right Weather Conditions
To ensure your safety while using a pole saw and pruner, it’s essential to choose the right weather conditions. Avoid working during periods of high wind or storms, as this increases the risk of falling branches and unstable working conditions. Additionally, be mindful of wet or slippery ground conditions, as it may affect your stability while using the equipment. Always prioritize your safety and wait for suitable weather conditions before trimming trees.
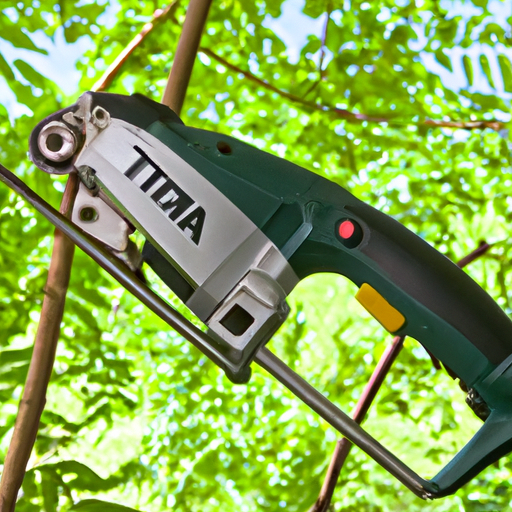
2. Understanding the Power-Lever Extendable Pole Saw & Pruner
To effectively and safely operate the Fiskars Power-Lever Extendable Pole Saw & Pruner (7’–14′), it’s essential to familiarize yourself with its components and functions. This will ensure that you can make the most out of this tool while minimizing any potential risks.
2.1 Familiarize Yourself with the Components
Before using the Power-Lever Extendable Pole Saw & Pruner, take the time to familiarize yourself with its various components. The pole saw typically consists of a long extendable pole, a saw blade attachment, and a pruner attachment. Understanding each part and how it connects will make it easier to operate the tool effectively.
2.2 Learn How to Extend and Retract the Pole
One of the key features of the Power-Lever Extendable Pole Saw & Pruner is its ability to extend and retract the pole. Familiarize yourself with the mechanism for extending and locking the pole at your desired length. Make sure to follow the manufacturer’s instructions carefully and test the pole’s stability before beginning any tree trimming.
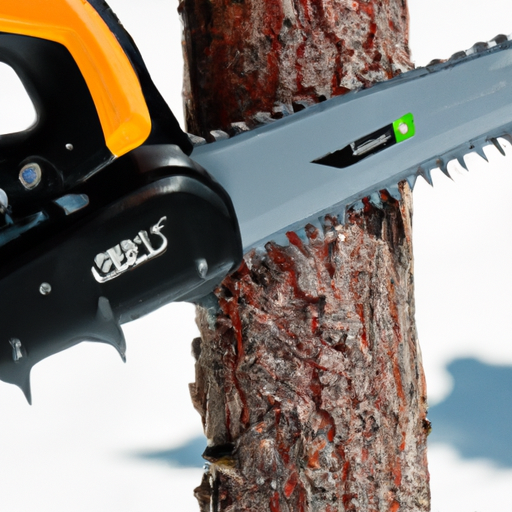
2.3 Understand the Saw and Pruner Functions
The Power-Lever Extendable Pole Saw & Pruner combines both a saw and a pruner function. The saw blade attachment is ideal for cutting high branches, while the pruner attachment is suitable for smaller branches within reach. Take the time to understand the functionality of each attachment and how to switch between them safely.
3. Assessing the Tree
Before beginning any tree trimming, it’s crucial to assess the tree’s health, structure, and identify the target branches. This assessment will help you determine the approach and tools required for a successful trimming session.
3.1 Determine the Tree’s Health
Start by assessing the overall health of the tree. Look for signs of disease, decay, or infestation, such as discolored leaves, dead branches, or unusual growth patterns. If the tree appears unhealthy, it may require professional attention or removal rather than just trimming.
3.2 Evaluate the Tree’s Structure
Next, evaluate the tree’s structure. Look for any branches that appear weak, crossing or rubbing against each other, or growing at odd angles. These can be potential hazards and should be considered for removal during the trimming process.
3.3 Identify Target Branches
Identify the specific branches that require trimming. Look for branches that are overhanging structures, obstructing views, or posing a safety risk. By identifying the target branches ahead of time, you can plan your approach and prioritize which ones to trim first.
4. Planning Your Approach
Before starting the trimming process, take some time to plan your approach. By considering the necessary tools, determining your position, and planning the order of branch removal, you can ensure a more efficient and safe trimming experience.
4.1 Determine the Necessary Tools
Based on the assessment of the tree and the target branches, determine which tools you will need to safely and effectively complete the job. In addition to the Power-Lever Extendable Pole Saw & Pruner, you may require ladders, pruning shears, or a harness for added stability and reach.
4.2 Decide on a Proper Position
Decide on the best position to safely operate the Power-Lever Extendable Pole Saw & Pruner. Consider factors such as your stability, the distance from the branches, and clear access to the target areas. Avoid working directly beneath branches and ensure you have a safe and comfortable position from which to trim.
4.3 Plan the Order of Branch Removal
Once you have identified the target branches, plan the order in which you will remove them. Start with the branches that pose the greatest safety risk or those that will provide the most immediate benefits in terms of aesthetics or obstruction. By planning your approach, you can work systematically and reduce the chances of damaging the tree or surrounding structures.
5. Basic Trimming Techniques
Now that you are prepared and ready to start trimming, it’s important to understand the basic techniques for using the Power-Lever Extendable Pole Saw & Pruner effectively.
5.1 Using the Pole Saw to Cut High Branches
For high branches that are out of reach, utilize the pole saw attachment. Extend the pole to the desired length, ensuring that it is securely locked in place. Use smooth and controlled motions to make cuts on branches, avoiding any sudden or jerky movements. Remember to follow proper cutting techniques, as outlined in section 6.
5.2 Utilizing the Pruner for Smaller Branches
For smaller branches within reach, switch to the pruner attachment. This attachment allows for more precision and control over cuts. Position the pruner jaws around the branch you wish to trim and use a smooth cutting motion. Again, remember to follow proper cutting techniques for optimal results.
6. Proper Cutting Techniques
To ensure the health and longevity of the tree, it’s crucial to employ proper cutting techniques when using the Power-Lever Extendable Pole Saw & Pruner.
6.1 Locate the Branch Collar
When trimming branches, always locate the branch collar before making any cuts. The branch collar is the swollen area at the base of the branch where it connects to the trunk. Cutting just outside the branch collar minimizes the risk of damage to the tree and promotes proper healing.
6.2 Make an Undercut
To prevent the branch from splintering or tearing, make an undercut before making the final cut. Starting on the underside of the branch, around 12-18 inches away from the trunk, make a shallow cut about one-third through the branch. This undercut will reduce the weight of the branch and prevent it from falling prematurely during the final cut.
6.3 Complete the Cut Properly
After making the undercut, move to the top side of the branch, a few inches further from the trunk, and make the final cut. This cut should be made just outside the branch collar and at a slight angle away from the trunk. By following these steps, you minimize the chances of the tree sustaining unnecessary damage.
7. Working with Difficult Trees
Certain trees may present more challenging trimming situations due to various factors. Understanding how to handle diseased or dead branches, trimming overhanging branches, and dealing with branches close to buildings can help you navigate these difficult scenarios.
7.1 Dealing with Diseased or Dead Branches
When facing diseased or dead branches, it’s important to exercise caution. These branches may be more brittle, making them prone to breakage. As a result, it’s crucial to approach their removal with extreme care. Consider contacting a professional arborist if you are uncertain or uncomfortable handling these types of branches yourself.
7.2 Trimming Overhanging Branches
Overhanging branches can be tricky to trim, especially if they are directly above structures or power lines. In such cases, it’s advisable to contact a professional. They will have the expertise and equipment necessary to safely remove these branches without causing damage or risking injury.
7.3 Handling Branches Close to Buildings
When dealing with branches that are close to buildings, exercise caution and use proper planning techniques. Consider the potential risks and assess whether it’s safe to trim the branches yourself or if professional help is needed. If in doubt, it’s always best to consult with an arborist to ensure the safety of both you and the structure.
8. Additional Tips for Effective Trimming
In addition to the core techniques and safety precautions, these additional tips will help you achieve better results while trimming your trees.
8.1 Avoid Over-Pruning
Over-pruning can weaken the tree and leave it vulnerable to pests and diseases. Always aim to remove only the necessary branches and avoid excessive trimming. Keeping a balance between aesthetics and the health of the tree is crucial for its overall well-being.
8.2 Maintain the Equipment
Regular maintenance of your Power-Lever Extendable Pole Saw & Pruner is essential for its longevity and optimal performance. Keep the blades clean and sharp, lubricate any moving parts, and store the equipment in a dry and secure location. Following the manufacturer’s guidelines for maintenance will ensure that your equipment remains in good condition for future use.
8.3 Consider Professional Help if Needed
While using a pole saw and pruner can be a satisfying DIY project, some situations may require the expertise of a professional arborist. If you are unsure about the size or complexity of the trimming job, it’s always wise to seek professional help. They have the knowledge and experience to assess and trim trees safely and effectively.
9. Cleaning Up After Trimming
After completing the tree trimming process, it’s essential to clean up any debris and restore the area to its original condition. Follow these steps to ensure an efficient and tidy cleanup process.
9.1 Safely Remove Trimmings from the Tree
Start by safely removing any trimmings still attached to the tree. Ensure that no branches are dangling or at risk of falling. Use caution when climbing ladders or reaching overhead to avoid injury. If there are any large or heavy branches that require cutting into smaller pieces, do so with care and take breaks as needed.
9.2 Dispose of Branches Properly
Proper disposal of the branches is vital to maintain a clean and safe environment. Cut the branches into manageable sizes for easy removal, or contact your local waste management facility to inquire about their guidelines for tree trimmings disposal. Avoid leaving branches in a manner that obstructs pathways or causes hazards.
9.3 Tidy the Surrounding Area
Finally, take the time to tidy and clean the surrounding area. Rake up any fallen leaves, twigs, or debris and dispose of them properly. This will help prevent potential tripping hazards and maintain the overall appearance of your property.
Conclusion
Using the Fiskars Power-Lever Extendable Pole Saw & Pruner (7’–14′) can be a rewarding experience when approached with proper safety precautions and techniques. By wearing protective gear, understanding the components of the equipment, assessing the tree, and planning your approach, you can ensure a successful and effective tree trimming session. Remember to follow proper cutting techniques and consider professional help if you encounter difficult scenarios. Lastly, don’t forget to clean up after the trimming process to maintain a tidy and safe environment. With the right knowledge and tools, you can confidently maintain and groom the trees on your property. Stay safe and enjoy the benefits of a well-trimmed landscape!