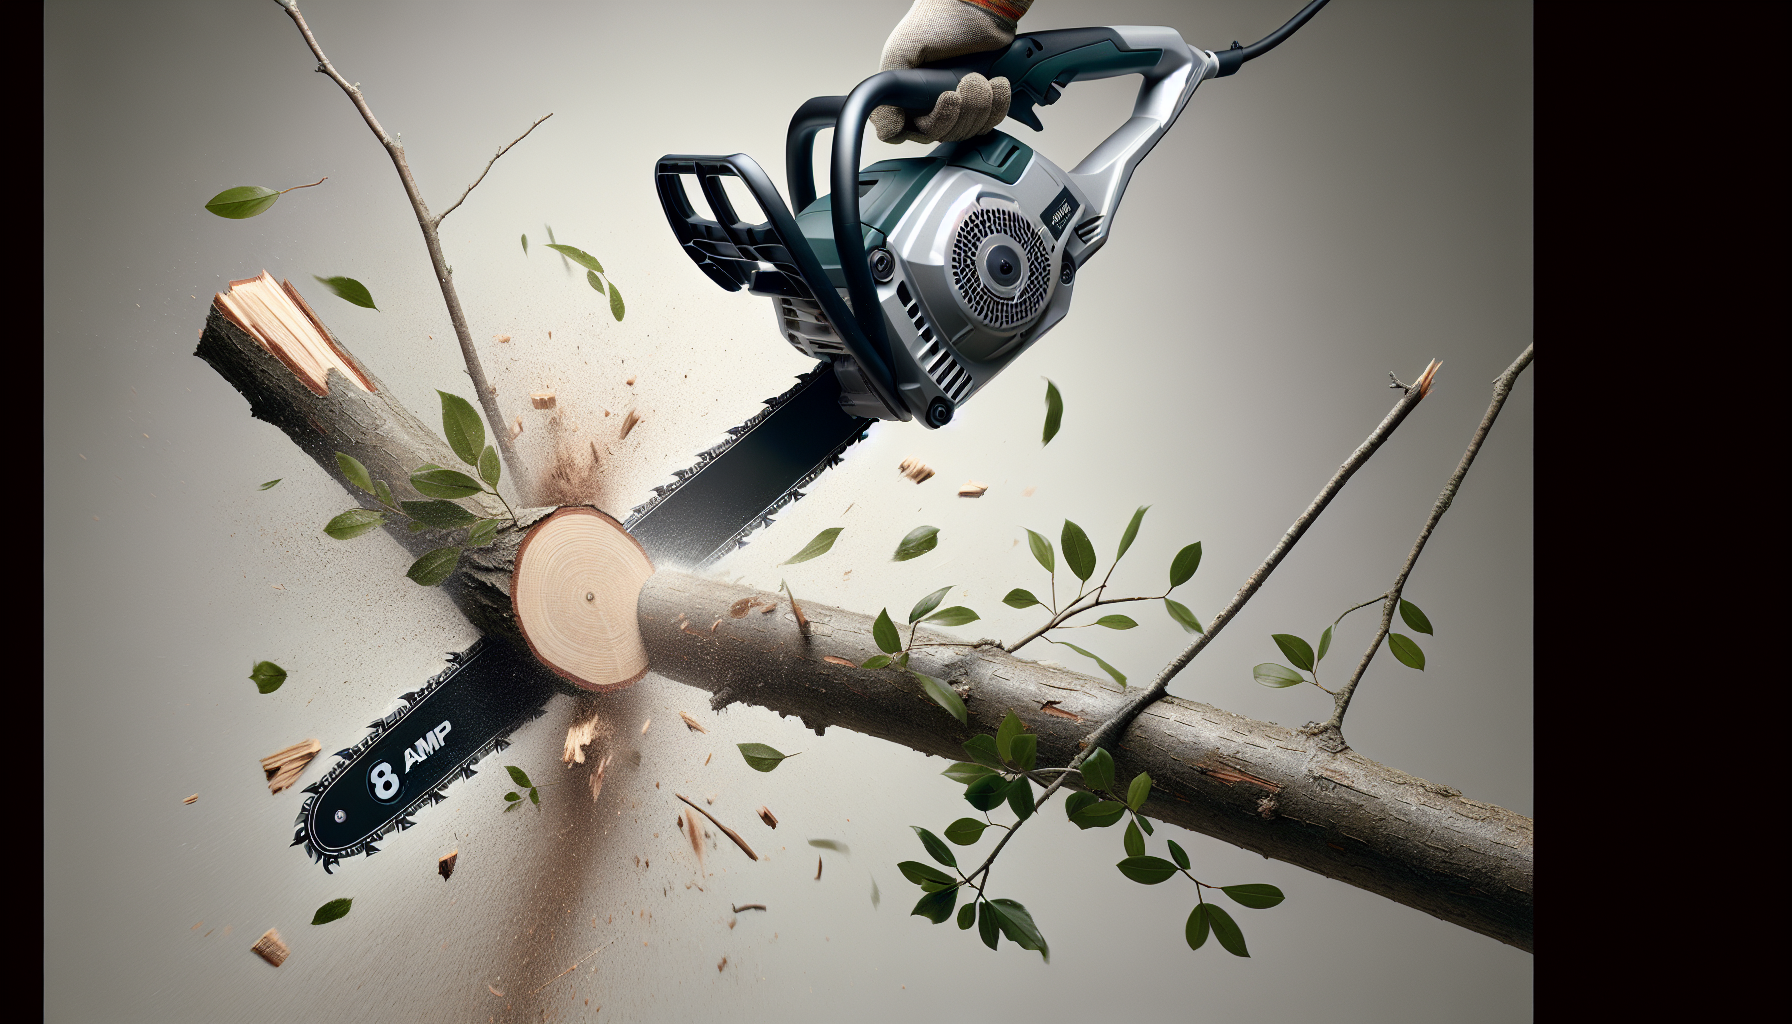
So you’ve just gotten your hands on the 8.0 Amp 10-inch Electric Pole Saw WG309 by Worx Tools, and you’re eager to start putting it together. Well, you’re in luck because assembling this versatile tool is quick and easy. With the 8-foot extension pole, you can effortlessly reach higher limbs without needing a ladder, and when it’s time to chop up fallen limbs, simply detach the pole. The best part is, no tools are required to attach or detach the pole, making it super convenient to transition from a chainsaw to a pole saw. Before you start, make sure you have the owner and safety manual, the chainsaw, the extension pole, and don’t forget your safety glasses and work gloves. Now, let’s get started on assembling your new electric pole saw!
To begin, take your extension pole and line up the notch in the pole. Squeeze it together and securely tighten the sleeve into place. Next, it’s time to attach your pole to the chainsaw. Just remove the plate, attach the chainsaw to the pole, put the plate back on, and tighten it securely. Don’t forget to add oil to the oil reservoir before you plug it in. Run the chainsaw for 20 to 30 seconds to prime the bar and chain before making your first cut. If you need to extend the chainsaw, simply flip the lever, and it can reach up to a 10-foot reach. Now, with your safety glasses and work gloves on, you’re all set to go to work with your newly assembled 8.0 Amp 10-inch Electric Pole Saw WG309. Happy sawing!
How to Assemble the 8.0 Amp 10-inch Electric Pole Saw WG309 by Worx Tools
Introduction
The 8.0 Amp 10-inch Electric Pole Saw WG309 by Worx Tools is a versatile tool that combines the functionality of a pole saw and chainsaw. With its unique multifunctional features, you can easily reach higher limbs without the need for a ladder and detach the pole to chop up fallen limbs. In this comprehensive guide, we will walk you through the step-by-step process of assembling and using the WG309 for all your outdoor trimming and cutting needs.
Step 1: Gathering the Materials and Tools
Before you begin assembling your 8.0 Amp 10-inch Electric Pole Saw WG309, make sure you have all the necessary materials and tools. Check the package contents to ensure you have everything you need. Additionally, gather any required tools mentioned in the instruction manual to make the assembly process smoother and more efficient.
Step 2: Assembling the Extension Pole
To start assembling your pole saw, locate the extension pole included with your WG309. Take the extension pole and put it together by aligning the notch present in the pole. Squeeze the pole together and take the sleeve provided to securely tighten it into place. This ensures that the extension pole is properly assembled and ready to be attached to the chainsaw.
Step 3: Attaching the Chainsaw to the Pole
Now that you have assembled the extension pole, you can proceed to attach the chainsaw to the pole. Begin by removing the plate covering the chainsaw. Once the plate is removed, carefully attach the chainsaw to the pole. Make sure it is aligned properly and securely fasten it by tightening the plate back in place. This step ensures that the chainsaw is securely attached to the extension pole, ready for use.
Step 4: Adding Oil to the Oil Reservoir
Proper lubrication is important for the smooth operation of the chainsaw. Locate the oil reservoir on the chainsaw and add oil to it. Follow the instructions provided in the user manual to ensure you add the correct amount of oil. This step helps in preventing any unnecessary friction and ensures the chainsaw functions efficiently during use.
Step 5: Priming the Bar and Chain
Before you make your first cut, it’s important to prime the bar and chain of the chainsaw. Plug in the chainsaw and run it for approximately 20 to 30 seconds. This allows the oil to circulate and properly lubricate the bar and chain. Priming the bar and chain ensures that your chainsaw is ready for optimal performance and extends its overall lifespan.
Step 6: Extending the Length of the Chainsaw
The WG309 pole saw offers the flexibility to extend its length for better reach. To extend the chainsaw, locate the lever specifically designed for this function. Flip the lever to extend the chainsaw out to its maximum length, offering up to a 10-foot reach. This feature allows you to access higher branches with ease, making the task more convenient and efficient.
Step 7: Putting on Safety Gear
Before operating any power tool, it’s crucial to prioritize safety. Put on safety glasses to protect your eyes from any flying debris. Additionally, work gloves are recommended to protect your hands during operation. By wearing the appropriate safety gear, you minimize the risk of accidents or injuries and ensure a safe and enjoyable working experience.
Step 8: Ready to Start
With all the assembly steps completed and the necessary safety gear in place, you are now ready to start using your 8.0 Amp 10-inch Electric Pole Saw WG309. Handle the tool with caution, following the provided instructions and safety guidelines. Enjoy the convenience of a 2-in-1 pole saw and chainsaw as you tackle trimming and cutting tasks in your outdoor space.
Conclusion
By following the step-by-step instructions provided in this guide, you have successfully assembled the 8.0 Amp 10-inch Electric Pole Saw WG309 by Worx Tools. Remember to adhere to safety precautions at all times and properly maintain the tool for optimal performance and longevity. With its multifunctional features and user-friendly design, this pole saw and chainsaw combo offers a convenient solution for all your outdoor cutting needs. Enjoy the efficiency and versatility of the WG309 as you maintain your outdoor space with ease.


