Hey guys, it’s More Medic One here! In today’s video, we’re going to tackle a common issue with the Stihl HT 133 Pole Saw. If you’ve been experiencing a problem where the chain doesn’t spin when you give it gas and pull the throttle, then you’re in the right place. I’ll show you exactly what the issue is and how to fix it. This particular model has a hex-shaped pole instead of a round one, which is supposed to make it stronger. So let’s jump right in and get this problem solved!
Alright, so when you crank the engine and give it throttle, everything seems to be working just fine until this point. To start, we’ll need to remove the chainsaw portion of the trimmer by unscrewing the two bolts. This will give us access to the drive spur, which should have splines that connect to the drive tube assembly. However, upon inspection, we can see that the splines on the drive tube assembly are worn out. Don’t worry, though, I’ve got a hack that I’ve been using for years to fix this issue. It involves cutting the shaft back by about six inches with a chop saw. I know this may reduce your reach, but it’s the perfect solution to get your Stihl HT 133 Pole Saw up and running smoothly again. So, grab your gloves and let’s get started on this time and money-saving fix!
Introduction
In this article, we will be discussing a common issue with the Stihl HT 133 Pole Saw, specifically related to the chain not spinning when the throttle is pulled. Additionally, we will address the unique design of the pole, which features a hexagonal shape instead of the traditional round design.
Issue with Stihl HT 133 Pole Saw
Chain doesn’t spin when throttle is pulled
One of the main issues users of the Stihl HT 133 Pole Saw encounter is that the chain fails to spin when the throttle is pulled. This can be frustrating and hindering when trying to complete tasks efficiently. Luckily, there are steps that can be taken to address this issue and get the pole saw working properly again.
Hex-shaped pole design
Unlike other models, the Stihl HT 133 Pole Saw features a hexagonal shape for its pole. While this design is touted as being stronger, it can pose a challenge when disassembling the chainsaw portion for maintenance or repairs. The non-round shape makes twisting and removing bolts more difficult, requiring specialized techniques.
Disassembling the Chainsaw Portion
Removing the bolts
To begin addressing the issue with the Stihl HT 133 Pole Saw, the chainsaw portion needs to be disassembled. This involves removing the bolts that hold it in place. However, due to the hexagonal shape of the pole, twisting the chainsaw portion back and forth can be more challenging than with other models.
Difficulty in twisting due to hex shape
The hexagonal shape of the pole can make twisting the chainsaw portion for removal more difficult. The non-round design provides added strength but also requires a different approach when disassembling the chainsaw portion. It may take some extra effort and maneuvering to remove the chainsaw portion from the pole.
Identifying the Problem
Examining the male portion of the drive spur
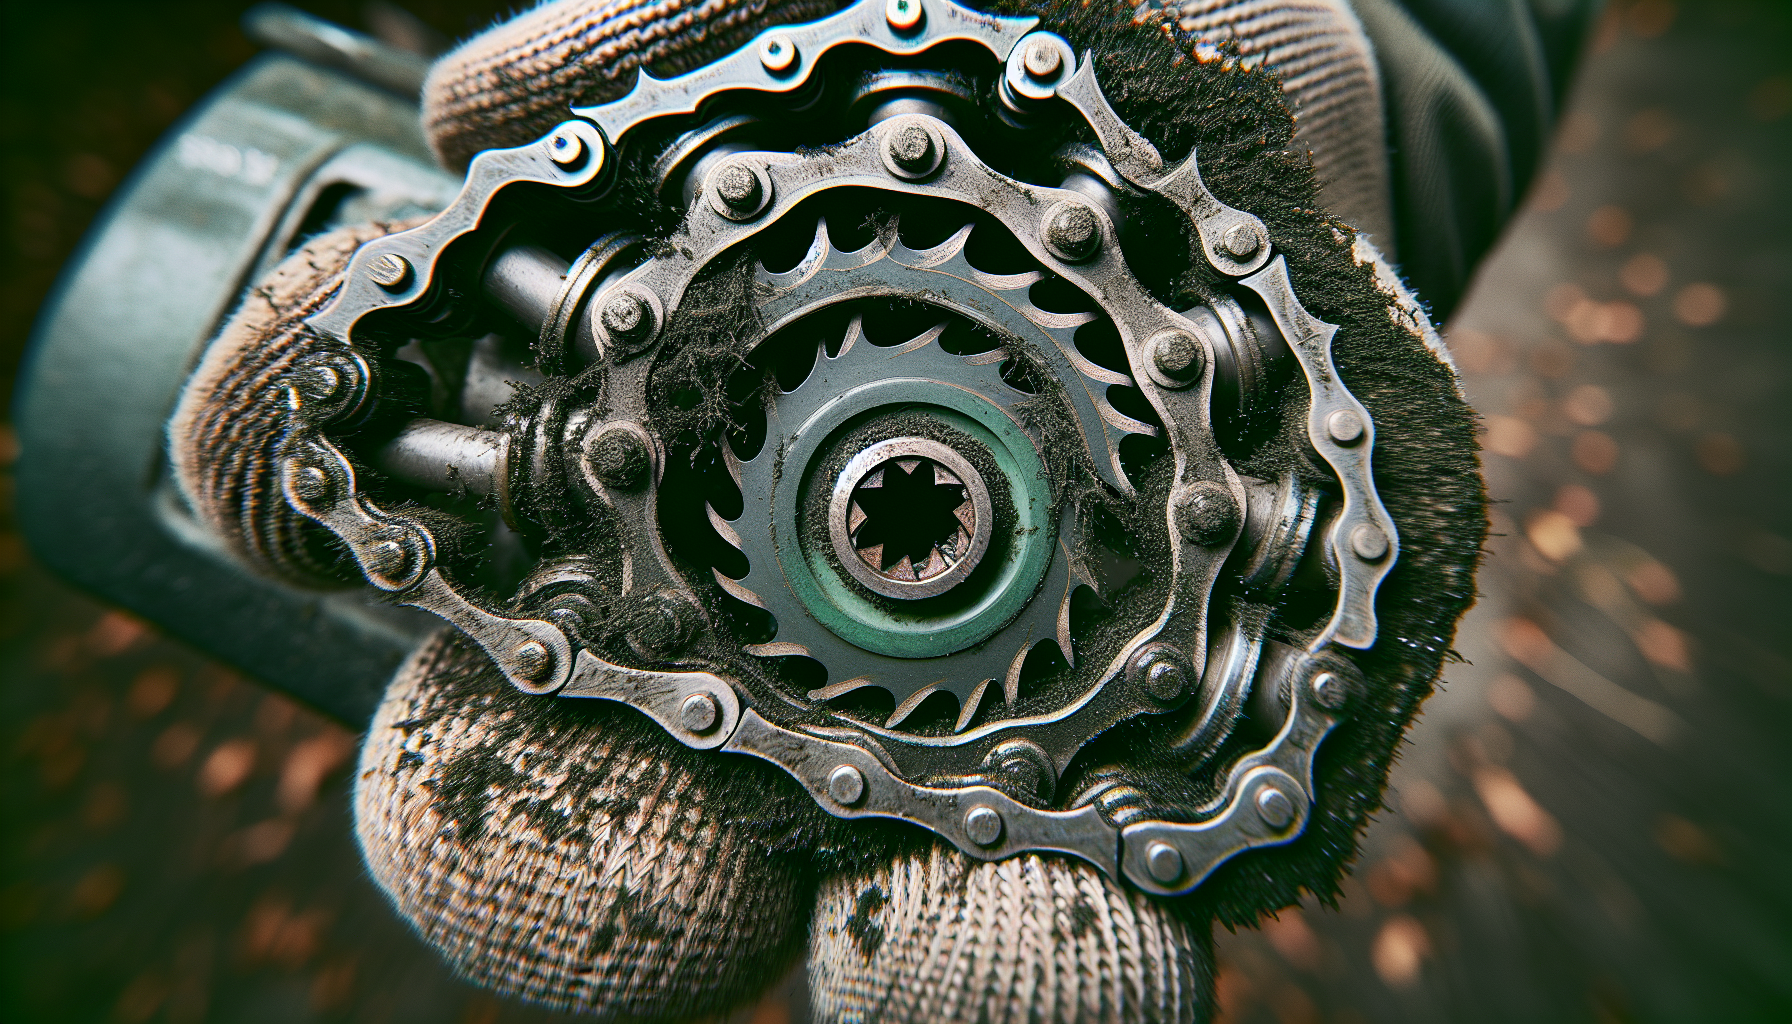
Once the chainsaw portion is removed, it’s important to examine the male portion of the drive spur. This component is responsible for transferring power to the chain. Ensuring that the splines on the male portion of the drive spur are intact and in good condition is crucial to proper chain functioning.
Spun out splines in the drive tube assembly
Upon closer inspection, it may be discovered that the splines in the drive tube assembly have spun out. This can cause the chain to fail to spin when the throttle is pulled. Identifying this issue is important for determining the appropriate solution.
Replacing the broken collar
In the process of examining the drive tube assembly, it may also be discovered that the collar is broken. This can contribute to the issues with the chain not spinning. To resolve this problem, the broken collar will need to be replaced.
Removing the Outer Shaft
Unscrewing the adjuster or clamp
To remove the outer shaft, the adjuster or clamp that holds the shaft needs to be unscrewed. This component is responsible for allowing the pole to be extended. By disconnecting it from the collar, the outer shaft can be removed.
Challenges in removing the caught shaft
However, removing the outer shaft can be challenging as it may become caught when reaching the end. This is often due to the broken collar mentioned earlier. A delicate approach is required to carefully maneuver the outer shaft past the obstruction.
Drilling out rivets in the collar
To completely remove the outer shaft, it is necessary to drill out the rivets in the collar. This will enable the collar to slide down and allow for the removal of the shaft. Once the rivets are removed, the outer shaft can be fully extracted.
Fixing the Spline Shaft
Removing the snap ring
To address the issue with the spline shaft, it is necessary to remove the snap ring that secures it in place. This will allow for the spline shaft to be disassembled and repaired.
Cutting back the spline shaft
In some cases, it may be necessary to cut back a portion of the spline shaft. This can be done using a chop saw, removing approximately six inches from the end. Cutting back the spline shaft may be necessary to ensure a proper fit and repair.
Reassembling the shaft
After cutting back the spline shaft, it can be reassembled by sliding it back onto the main drive shaft. It is important to note that some resistance should be expected, as the spring inside the pole will cause the shaft to push back.
Reassembling the Pole Saw
Slide the shaft onto the main drive shaft
With the spline shaft properly reassembled, it can be slid back onto the main drive shaft. This step is crucial to ensure that the pole saw functions correctly and that the chain spins when the throttle is pulled.
Pushing against the spring
During the reassembly process, some resistance may be encountered due to the spring inside the pole. It is important to push against this resistance, allowing the shaft to fully engage and function properly.
Attaching the cutter head
Once the shaft is properly assembled, the cutter head can be attached. This is the component that directly engages with the chain and is responsible for cutting. Ensuring that the cutter head is securely attached is essential for safe and effective operation.
Installing new Rivets and Clutch Pack
Putting the collar back over the tube
After reassembling the pole saw, the collar needs to be placed back over the tube. This will help secure the outer shaft and prevent it from moving during use.
Installing new rivets
To properly secure the collar, new rivets will need to be installed. This can be done using a rivet gun or similar tool. Ensuring that the rivets are securely in place is crucial to the overall stability and functionality of the pole saw.
Tightening the clutch pack
To complete the installation process, the clutch pack needs to be tightened. This will ensure that the pole saw functions properly and that the shaft remains secure. Taking the time to tighten the clutch pack properly will prevent any further issues with the chain not spinning.
Securing the Nut and Gear Head
Tightening the nut to secure the shaft
Another important step in the reassembly process is securing the nut that holds the shaft in place. This nut plays a key role in ensuring that the pole saw functions correctly and that the shaft remains secure during operation.
Attaching the gear head
Once the nut is securely tightened, the gear head can be attached. This component is responsible for effectively transferring power from the engine to the chain. Ensuring that the gear head is properly attached is essential for safe and efficient operation.
Tightening the screws
To complete the reassembly process, the screws that secure the gear head need to be tightened. This step ensures that the gear head remains in place during use and that the pole saw operates smoothly.
Conclusion
In conclusion, the Stihl HT 133 Pole Saw is a versatile tool for all your cutting and pruning needs. However, it is not without its issues, particularly regarding the chain not spinning when the throttle is pulled. By following the steps outlined in this article, you can address this issue and get your pole saw in proper working order.
While disassembling the chainsaw portion and addressing problems with the spline shaft may seem daunting, with patience and the right tools, these issues can be resolved. By following the recommended steps and techniques, you can save both time and money by fixing the pole saw yourself.
It is important to address concerns about warranties and professionalism. While some may argue that these DIY fixes may void warranties, it is crucial to understand that this information is meant to help individuals with minor repairs and maintenance issues. Consulting a professional or contacting Stihl directly for more complex problems or concerns is always a good idea.
By employing the recommendations in this article, you can overcome the frustrations of a non-functioning chain and get back to efficiently completing your outdoor tasks. Remember to prioritize safety and always wear gloves when working on any machinery, as they can be filled with greasy aluminum dust that can be messy and potentially harmful.


